
Hardware Solutions
Applications
 Part of the Oxford Instruments Group
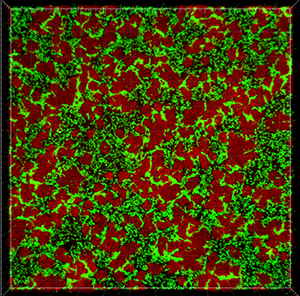
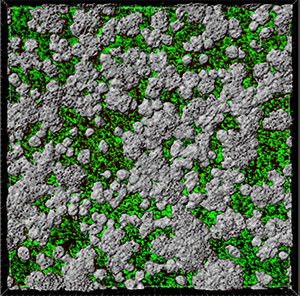
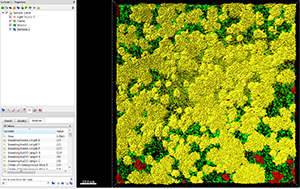
This tutorial describes how Imaris can be used for quantifying three-dimensional biofilm images. Imaris features will be shown using the confocal 3D human pathogen Vibrio cholerae image, courtesy of Dr. Fong, from the University of California-Santa Cruz. This confocal laser scanning microscope image shows two strains of Vibrio cholera cultured together, the green strain lacks Vibrio polysaccharide and the red one lacks matrix proteins.
To examine 3D biofilm structures you can either use the Surpass volume rendering or you can use various Slice view options: Slice, Selection, Gallery or Easy 3D.
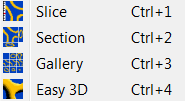
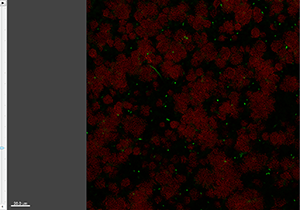
With The Slice view, you can inspect any slice along the z-axis for a general overview of the data set.
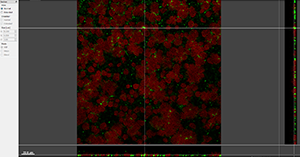
The Section view shows the XY, XZ, and YZ view and lets you inspect the image of any given point within the data set.
The Gallery view displays all available slice images of the data set.
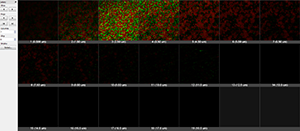
Easy 3D shows 3D projection along Z, providing a quick view with a few parameters for rendering and light setting.
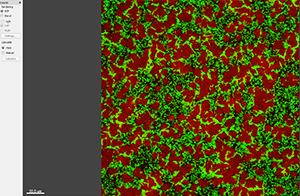
To characterize the spatial and population heterogeneity within a biofilm, you can use the Surpass mode to create Surfaces and or Spots objects by segmenting the image based on colour and intensity.
To start the Surface creation wizard, click on the Surface button  . During the Surface creation, all segmentation parameters can be set interactively in accordance with your scientific requirements.
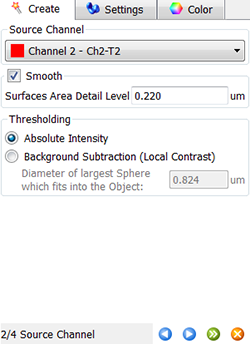
A useful approach to some images is to apply a specific function not on the entire image but only in a region of interest, however in this tutorial, we will process the whole image, so begin by clicking on Next.
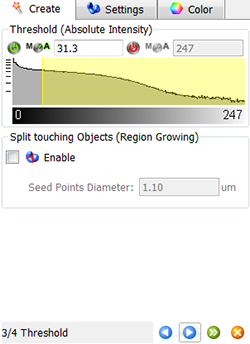
In the next step, make a selection of source channel from which the Surfaces objects are to be segmented. To reduce noise, the smooth option is already selected and based on the image properties the value for the Surface Area Detailed level is calculated. As the Threshold option, Absolute Intensity is preselected.
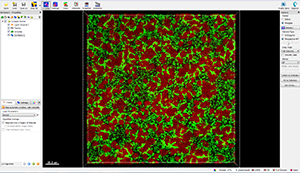
In the viewing area, a surface threshold preview is displayed.
To adjust the threshold value you can either click on the histogram and drag the line or enter the numerical value in the field. These changes are instantly visible in the viewing area.
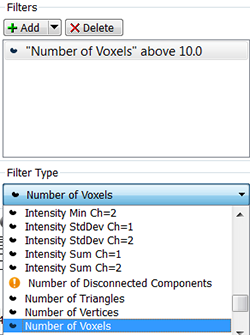
In the Classify Surfaces step, you can sort and filter the resulting Surfaces objects by various criteria and enhance the interpretation of results. You can group the Surfaces objects by selecting the filter type and setting the filter values.
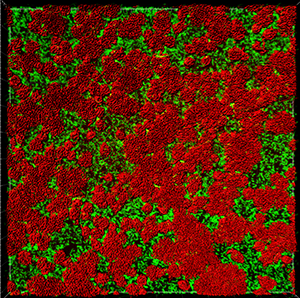
To complete Surface creation click on Finish. The newly created Surfaces are displayed in the viewing area.
Once an object is created, all its statistical values can be found under the Statistics Tab  . There you can find the fluorescence intensity data and for the created objects related measurements.
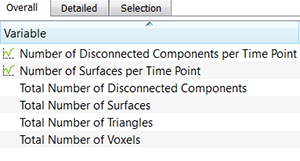
There are three statistical tabs Overall, Detailed, Selection  . The output of the Overall statistics provides an overview of the image single determining variables that are not measured on a per-object basis.
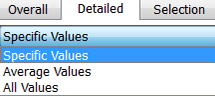
The Detailed Tab shows statistical data gathered from all of the objects within the image. A pull down list offers three types of Detailed statistical calculations: Specific Values, Average Values, and All Values.
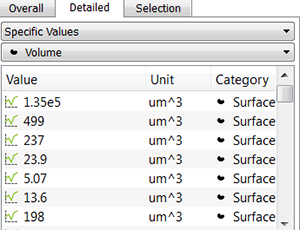
In the Specific Values, a second pull down list displays the available statistical variables such as Area, Volume or fluorescence Intensity data. These variables can be used for determining biovolume, biofilm compactness, or the ratio between the number of dead and living cells per biofilm.
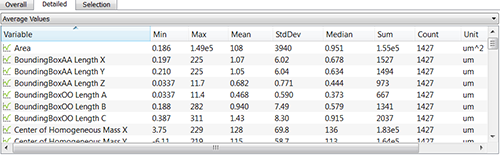
In the Average table, you can find statistics determined on the basis of all values within a set of the selected variable. It shows the five value summaries: Minimum, Maximum, Mean, Median and Standard deviation. Also, the Sum and the total number of all values are also given for the selected variable.
Finally, the Selection tab displays values only for the selected object or group of objects.
For some further statistical analysis, you can Export  the data either as a Comma Separated Values file, or directly as an Excel file.
If you have questions about the features mentioned here or other features found within, Imaris please contact your local Sales or Support team.
© Oxford Instruments 2024
